Table of Contents
TLDR - Use a team or new draft and create pages for each piece of the system. Use Figma auto layout to align each page in a column, zoom into the file so it is the full size of your screen, and scroll down like a web page to view easier.
If you've made it here, you've probably already read or heard about Atomic Design by Brad Frost. But if not, it is basically a methodology for breaking down design systems into understandable, easier to use pieces. It begins with atoms, the basic building blocks of your system. Then comes molecules, where atoms start to join together. Next is organisms, which become more detailed groupings. Then we have templates, that bring organisms together to create sections. And finally, we have pages, the piece that links everything together to create the layout of each page. Not all systems are that large, but this keeps a good organization and flow to the system.
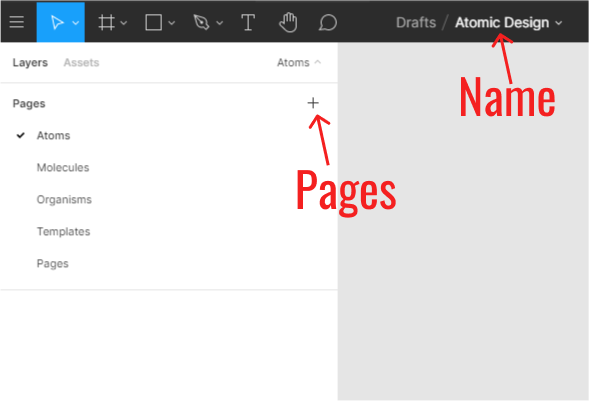
Based upon these descriptions we can create a new file, either in a team or a draft, and use Figma's built in pages to create a page for each of the design system pieces. I'm going to start with a new draft, name it, and then create each page.
A design system can be extremely detailed and this can help when many people are working on a team to produce a product. However, don't feel like you need to include everything in a design system for a personal or smaller project. A design system is what you is there to help you, do what feels right for you.
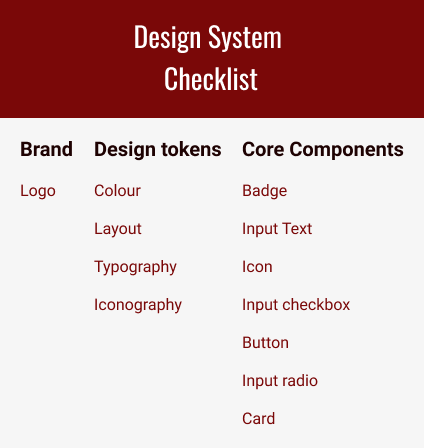
Design System Checklist by Brad Frost
The full checklist is very extensive and includes pretty much anything you could ever want or need in a design. For the sake of simplicity and everyone's time, let's just start with the basics..
Frames
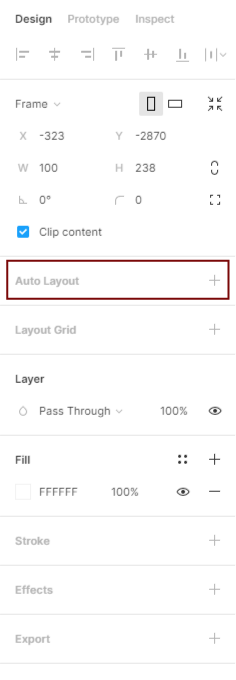
We'll start on the Atoms screen by creating a frame, the shortcut key is F. When you hit F, a menu pops up on the right that includes a list of different sized devices you can use or you can drag out your own size frame. Once your frame is created, look along the right side and find Auto Layout.
Auto Layout
Click on the plus icon on Auto Layout to add it to the current frame. With Auto Layout, we can choose which direction things inside of it should go, the space between them, the padding from the border of the frame, and the alignment. Use the text tool, with shortcut T, and write out the title Atoms. A lot of design systems I've looked at tend to sprawl horizontally and are hard to find things. So, here is my tip for the best viewing experience in Figma.
Have your layout go downwards and use shift + 1 to zoom to fit your screen.
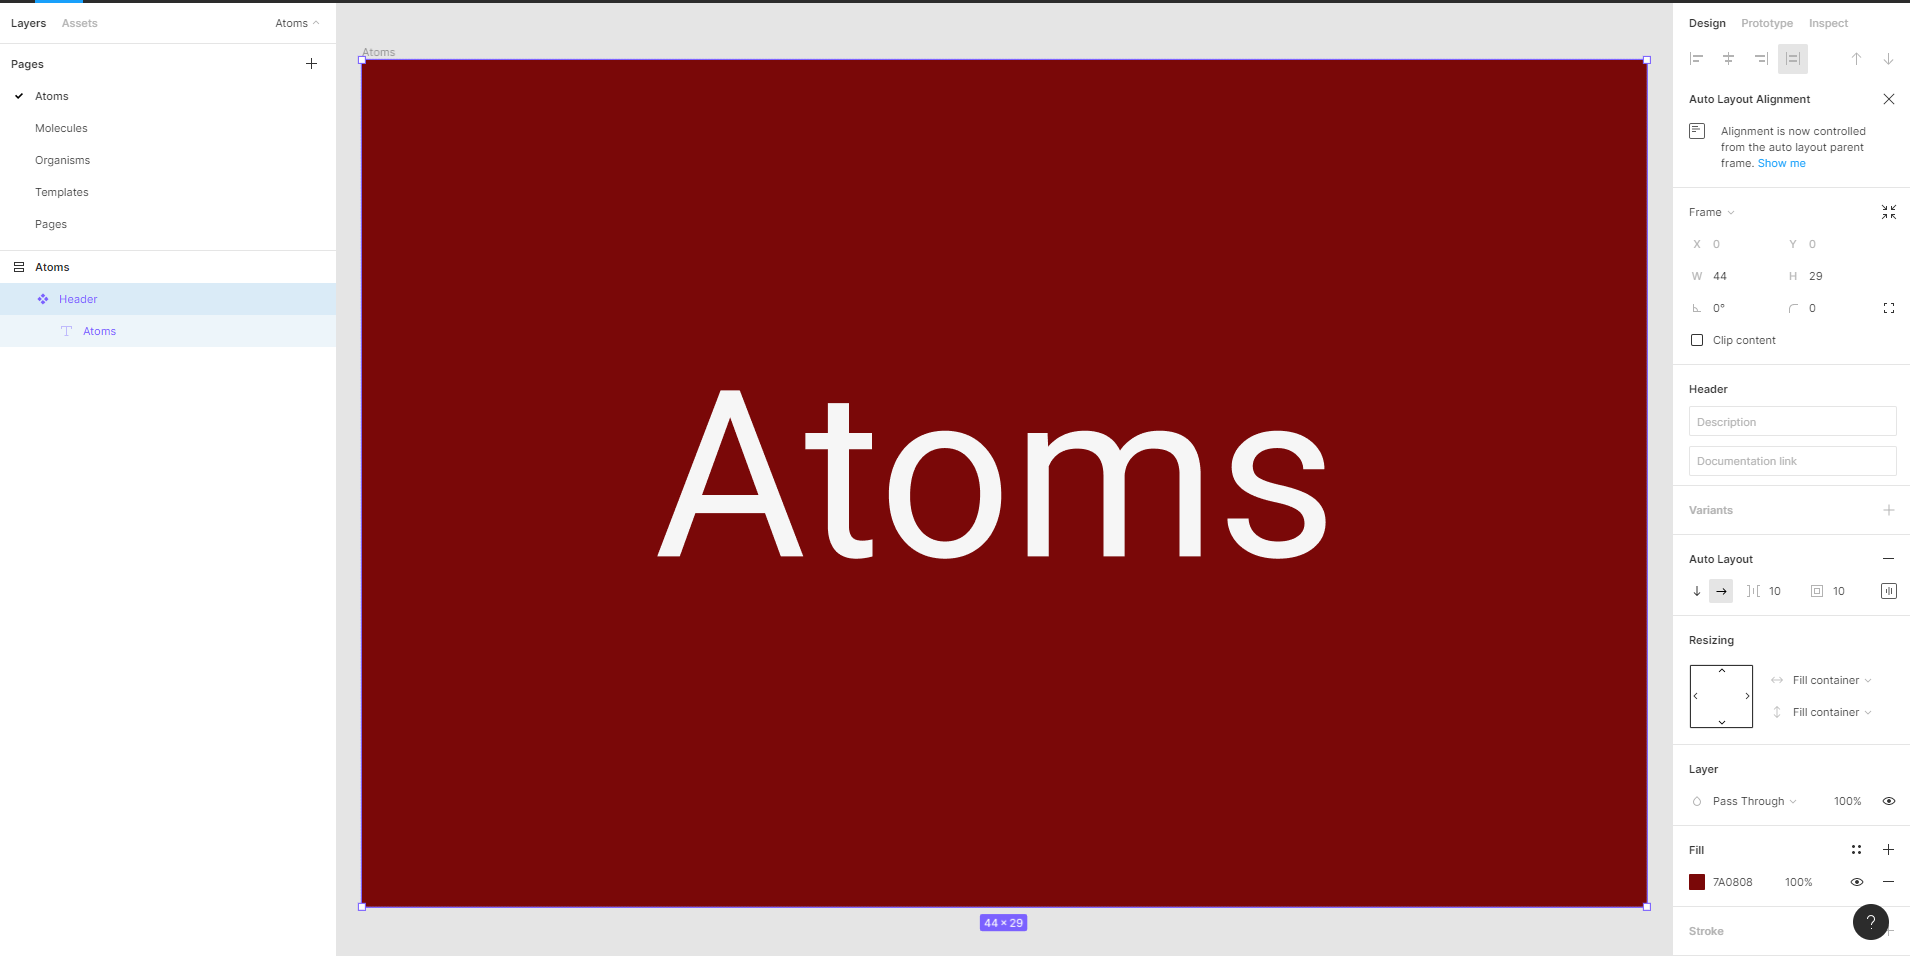
Header Component
As you create more pieces to the design system, you may have to hit shift + 1 at different times to keep the view to fit the screen. It would be awesome if the devs at Figma wanted to make a setting that would keep it that way as content was created 😉! I usually do a header for each section of my design. Right click your Atoms title and select frame selection. Add an auto layout to this frame to center the title and give it some padding and a background color. Make sure to check fill container for the height and the width under resizing and then make the Header into a component with ⌥ Option 2 on Mac or Alt + 2 on Windows. Now we have a reusable header component we can use for the other sections of the page.
Using Components
Click over to the assets tab in the panel on the left and under local components there should be our header component we just created. Click and drag it into the frame.